

Key Takeaways
- Surface preparation determines paint longevity more than any other factor.
- Applying paint in direct sun or high humidity causes bubbling and premature peeling.
- Skipping primer on bare wood or masonry dramatically shortens paint life.
- Caulking gaps before painting stops moisture from getting behind the paint film.
- Two thin coats outlast one thick coat in almost every exterior application.
Why exterior paint fails faster than it should
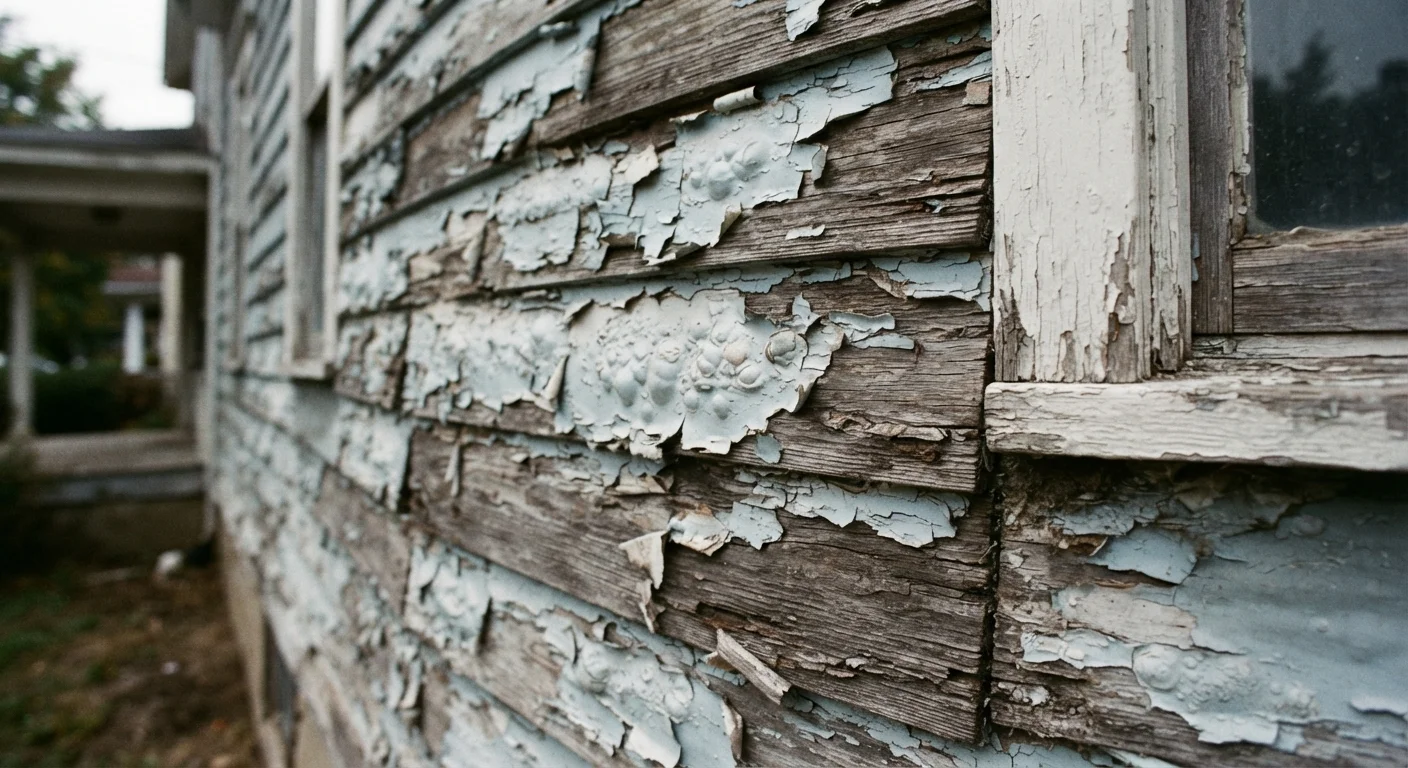
A quality exterior paint job can protect a home for eight to ten years. Many fail within two. The gap between those outcomes is rarely about the paint itself. It comes down to preparation, timing, and technique, and the mistakes that undermine all three are remarkably consistent across homeowners of every experience level.
If you are tackling exterior paintwork for the first time, see the guide for first-time homeowners for broader context on where painting fits into a home improvement plan. The mistakes below are the specific points where exterior jobs most often go wrong.
Skipping primer before applying topcoats.
Why it happens: Primer adds time and cost, and modern paint-and-primer-in-one products have led many homeowners to believe the step is optional on all surfaces.
Painting over surfaces that have not been cleaned or sanded.
Why it happens: Cleaning and sanding are unglamorous work, and the surface may look acceptable to the eye even when it is contaminated with chalking, mildew, or a glossy old coating.
Applying paint in direct sun or on a hot surface.
Why it happens: Homeowners often work with the sun to maximize visibility and warmth, not realizing that a hot substrate causes paint to skin over on the surface before the lower layer has cured.
Applying one heavy coat instead of two thin ones.
Why it happens: One thick coat seems more efficient, and wet paint looks dense and opaque immediately after application.
Ignoring the condition of caulk and sealant around trim before painting.
Why it happens: Old caulk that is still in place looks functional until it is inspected closely. Homeowners often paint over cracked or shrinking caulk rather than removing and replacing it.
Not allowing enough drying time between coats or before rain arrives.
Why it happens: Drying times on paint labels often reflect ideal conditions. In cooler or more humid weather, actual drying takes longer, and many homeowners do not adjust their schedule accordingly.
Getting timing and conditions right
Even flawless surface prep can be undone by painting at the wrong time. Temperature and humidity govern how paint cures, and curing is not the same as drying. Paint that looks dry within hours may still be chemically bonding for days. Disrupt that process and adhesion suffers.
Never paint in direct sun or on hot surfaces
Painting a sun-heated surface causes the paint film to skin over before the lower layer has cured, which leads to bubbling, wrinkling, and early peeling. Surface temperature on a south-facing wall on a summer afternoon can exceed 140 degrees Fahrenheit even when air temperature feels moderate. Always confirm surface temperature before starting, not just air temperature.
Most exterior latex paints specify application between 50 and 90 degrees Fahrenheit, with relative humidity below 70 percent. Check both the air temperature and the surface temperature of the substrate, which can be significantly higher on a south-facing wall in summer. A surface thermometer costs very little and removes the guesswork.
Wind is also worth watching. Light airflow helps solvents evaporate evenly. Strong wind dries paint too fast, causing lap marks where wet paint meets a section that has already started to skin over. Paint the shaded side of the house in the morning and move to other elevations as the sun shifts.
Peeling that starts within a year of painting is almost always a sign of a preparation or condition problem, not a product failure. The causes of peeling paint article explains the underlying mechanisms in more detail.
Surface and moisture issues that get overlooked
Moisture is the single biggest enemy of exterior paint adhesion. It can come from outside, through rain and humidity, or from inside, as water vapor passes through walls. Painting over damp substrate traps moisture behind the paint film, and that trapped moisture eventually forces the coating off.
Check wood siding with a moisture meter before painting. Most paint manufacturers recommend moisture content below 15 percent. After rain, allow at least two full dry days before applying any coating, longer in humid climates or with thicker substrates like timber fascia boards.
Mould and mildew on exterior surfaces need chemical treatment before painting. Washing them off with water alone does not kill the organism, and painting over active mould simply seals it in. A diluted bleach solution or a dedicated mould wash is the standard treatment; allow the surface to dry completely afterward. For a broader look at how mould works and where it hides, the article on damp and mould myths covers common misunderstandings that trip up homeowners.
Gaps around window frames, door surrounds, and where siding meets trim are entry points for water. Fill them with an exterior-grade paintable caulk before painting, not after. Caulking over paint instead of under it creates a weak bond that opens again within one or two seasons.
15%
Maximum recommended wood moisture before painting
Most exterior paint manufacturers specify wood moisture content below 15 percent as a prerequisite for proper adhesion.
8-10 years
Expected lifespan of a well-applied exterior paint job
Industry guidance suggests properly prepared and applied exterior paint should last eight to ten years before needing full repainting.
50-90 F
Recommended temperature range for exterior latex paint
Most exterior latex paint manufacturers specify application within this temperature range for reliable curing and adhesion.
For a broader look at the parts of a home that quietly accumulate moisture damage, the guide to hidden weak points is a practical starting point.