

Key Takeaways
- Removing all old caulk before applying new is non-negotiable; layering new over old causes early failure.
- The surface must be completely dry before you caulk, ideally after 24 hours without use.
- Filling the tub with water before caulking prevents the new bead from cracking when weight is applied.
- Silicone caulk resists mould and moisture better than acrylic in a wet bath environment.
- A smooth, consistent bead applied in one pass looks better and seals more reliably than multiple attempts.
What you will need
Why recaulking matters more than it looks
The thin line of caulk running around your bathtub is the only barrier between the visible tile surface and the framing, subfloor, and wall cavity behind it. When that seal cracks, shrinks, or grows mould, water finds its way in with every shower. Over time, this leads to rot, structural damage, and the kind of repair costs that a simple recaulk job would have prevented entirely.
This is one of those tasks that new homeowners often overlook in the first year, yet it takes an afternoon and costs very little. If you are working through a broader list of early home priorities, see our guide for first-time homeowners for a wider picture of where to start.
Signs your caulk needs replacing include visible cracking or gaps, dark mould that does not clean off, caulk that has pulled away from the tile or tub, and any soft or discoloured wall surface nearby. If mould has spread beyond the caulk itself, read our article on common misunderstandings about damp and mould before you start.
What you will need
Gather everything before you begin. Having to stop mid-process to find a tool is the fastest way to end up with a poor result.
Caulk gun
Applies caulk from a standard tube at a controlled, even rate.
Silicone caulk (bathroom grade)
Creates the waterproof seal between the tub and tile; choose a mould-resistant formula for wet areas.
Utility knife or caulk removal tool
Cuts through and lifts old caulk from the joint without damaging surfaces.
Isopropyl alcohol
Cleans the joint of soap scum, grease, and residue so the new caulk bonds properly.
Painter's tape
Creates a defined channel for a clean, straight caulk line on both surfaces.
Caulk smoothing tool or damp finger
Presses the bead into the joint and produces a neat, concave finish.
Needle-nose pliers
Grips and pulls away stubborn sections of old caulk that are hard to remove by hand.
Step-by-step: removing old caulk and applying new
Work through each step in order. Skipping the preparation stages is the most common reason a fresh caulk bead fails within weeks.
Fill the bathtub with water
Fill the tub to roughly its normal bathing level before you remove any old caulk. This puts the tub under load and holds it in the position it will be in during normal use. Leave the water in through the entire process until the caulk has cured.
Remove all old caulk
Use a utility knife or a dedicated caulk removal tool to cut along both edges of the existing bead. Work slowly to avoid scratching the tub surface or dislodging tiles. Pull the bulk of the old caulk away with your fingers or needle-nose pliers, then use the scraper to remove any remaining residue from both the tile and tub surfaces.
Clean and dry the joint
Wipe the joint with isopropyl alcohol (rubbing alcohol) on a cloth to remove soap scum, oils, and any caulk residue. If you see mould, treat it with a bathroom mould cleaner and allow it to fully dry. The surface must be bone dry before caulk goes on. Ideally, leave it 24 hours after cleaning before proceeding.
Apply painter's tape
Run a strip of painter's tape along the tile, about 3 to 4 mm above the joint, and another strip along the tub surface, 3 to 4 mm below the joint. This gives you a defined channel to work within and produces clean, straight edges without freehand precision.
Load and cut the caulk tube
Load the tube into the caulk gun. Cut the nozzle tip at a 45-degree angle with scissors or a utility knife. Start with a small opening, around 3 to 4 mm. You can always cut more off, but you cannot put it back. Pierce the inner foil seal with a long nail or the built-in rod on the gun if present.
Apply the caulk bead
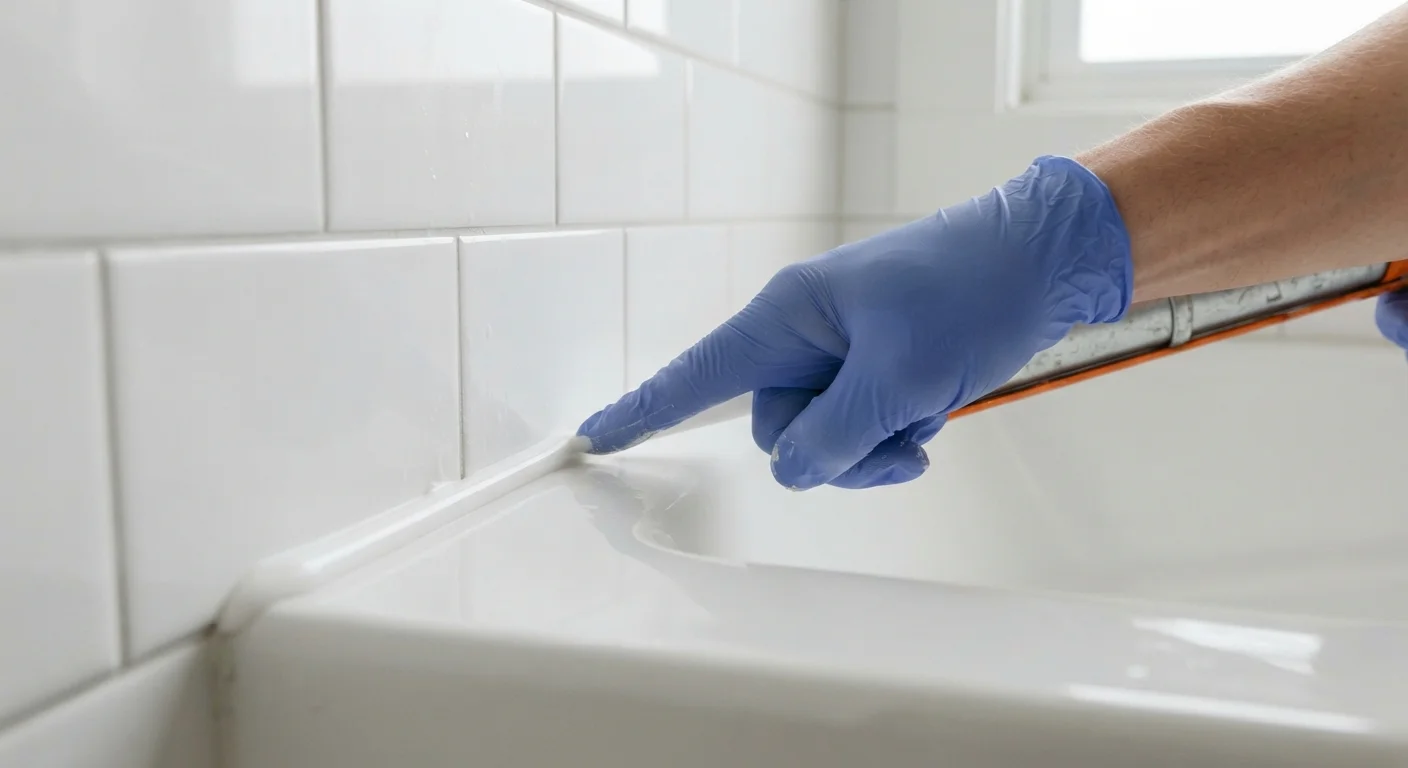
Hold the gun at roughly 45 degrees to the joint. Squeeze the trigger steadily while moving along the joint in one continuous pass. Apply consistent pressure so the bead is even in width. Work the full length of one side before stopping. Do not go back and forth over the same area.
Smooth the bead
Dip your finger in water or use a caulk smoothing tool and run it along the bead in one smooth stroke. This presses the caulk into the joint and creates a slightly concave, professional-looking finish. Do this immediately after applying each run, before the caulk begins to skin over.
Remove the tape and allow to cure
Pull the painter's tape away at a 45-degree angle while the caulk is still wet. Pull slowly and back on itself rather than outward. Once the tape is off, do not touch the bead. Check the product label for the full cure time before using the tub: most silicone caulks require 24 hours before water contact, though some need 48.
Getting a clean finish and avoiding common mistakes
The single most common mistake is applying new caulk directly over old. Even if the old bead looks mostly intact, any remaining residue will prevent the new caulk from bonding properly to the tub or tile surface. Take the time to remove everything.
Cutting the nozzle at too wide an angle produces a fat, uneven bead that is hard to smooth and wastes material. A small opening, around 3 to 4 mm, gives you more control. Move the gun at a steady pace; stopping and starting creates lumps.
Another frequent error is caulking a dry, empty tub. Bathtubs flex slightly under the weight of water and a person. If you caulk without filling the tub first, that movement will pull the fresh seal apart the first time someone bathes. Fill the tub before you apply the caulk, and leave the water in until the caulk has cured.
For gaps wider than about 6 mm, a single bead may not bridge the space reliably. In that case, check whether the tub has shifted or the surround has moved. A gap that large can indicate a structural issue worth inspecting. Our guide to your home's hidden weak points covers the kinds of problems that a surface fix will not solve.