

Key Takeaways
- Peeling paint almost always results from poor surface preparation, not inferior paint quality.
- Moisture is the single most destructive force behind paint failure on interior and exterior walls.
- Skipping primer is one of the most common and costly mistakes DIY painters make.
- Paint applied over dirty, glossy, or damaged surfaces will not bond and will eventually fail.
- Rushing drying time between coats traps solvents and causes bubbling and peeling.
What actually causes paint to peel
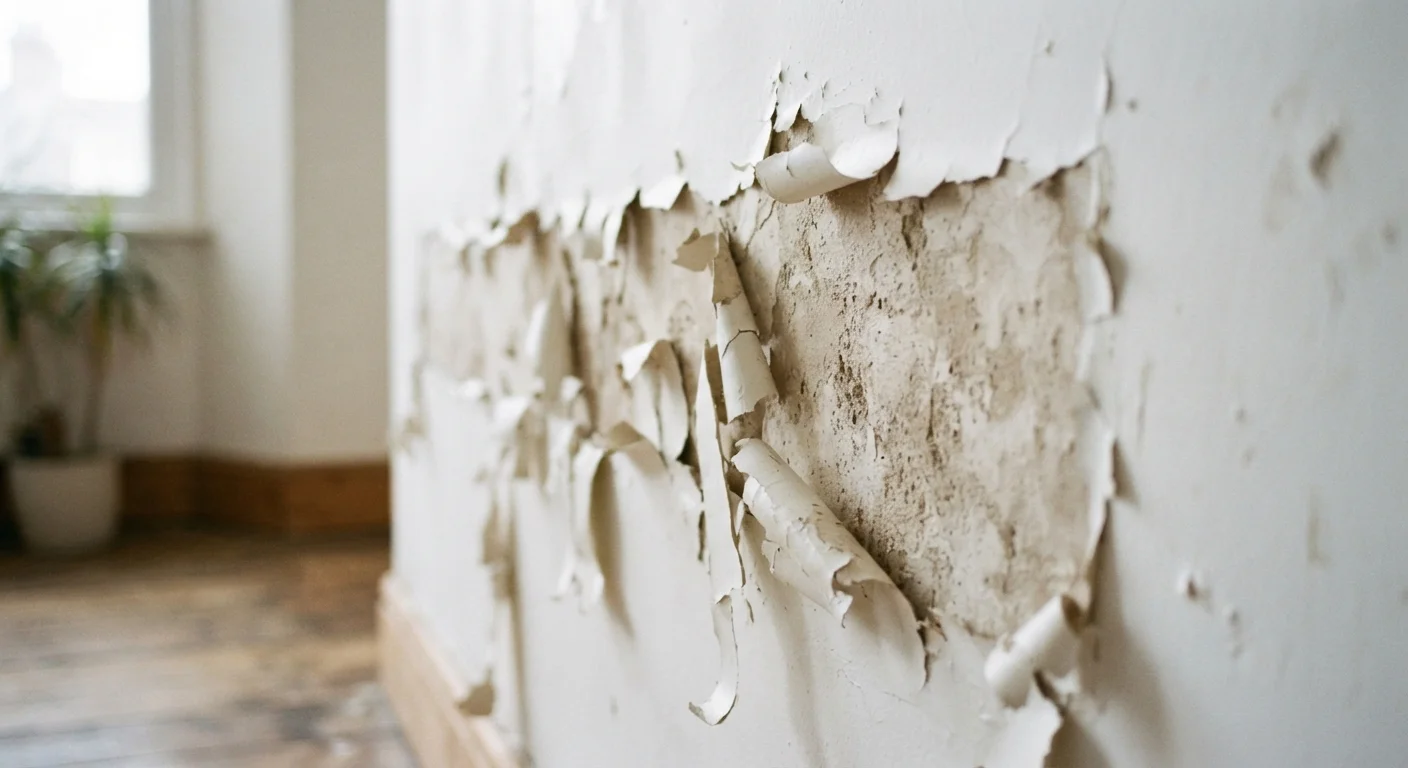
Peeling paint is not random. The coating detaches when adhesion fails, and adhesion fails for predictable reasons: a surface that was not clean, not primed, not dry, or not compatible with the paint applied to it. Understanding which of these conditions applies to your wall tells you exactly what to fix before touching a brush again.
The two most common culprits are moisture and skipped preparation steps. Moisture works from behind the paint film, softening the bond between paint and substrate. Poor preparation means the bond was never strong in the first place. Both produce the same result: paint that lifts, curls, and falls away in patches.
For a broader look at how preparation separates a lasting result from a disappointing one, see the guide to interior wall painting practices.
Moisture problems need fixing first
If peeling is happening in a bathroom, near windows, or along exterior walls, treat the moisture source before repainting. Painting over damp walls or active condensation zones will cause the new coat to fail just as quickly as the last one. A licensed contractor or building inspector can help identify whether the issue involves plumbing leaks, inadequate ventilation, or structural water intrusion.
Common mistakes that cause peeling and how to avoid them
Most peeling paint problems come down to a handful of recurring errors. Recognizing them before starting a project is far less costly than stripping walls and starting over.
Skipping surface cleaning before painting.
Why it happens: Walls that look clean often seem ready to paint, so many people go straight to applying paint without washing the surface first.
Not using primer, or using the wrong type.
Why it happens: Primer adds time and cost, and paint labels sometimes claim the product is 'paint and primer in one,' which leads people to skip a dedicated primer coat.
Painting over a glossy or previously sealed surface without sanding.
Why it happens: Glossy finishes feel smooth and undamaged, so sanding them feels counterproductive, particularly when the old paint looks fine.
Applying paint in humid conditions or to damp walls.
Why it happens: Painting often coincides with renovation work, and people feel pressure to finish quickly, even when conditions are not ideal.
Rushing drying time and applying second coats too soon.
Why it happens: Impatience is natural, and paint can feel dry to the touch within an hour, which suggests it is ready for the next coat.
Ignoring cracks, holes, or flaking in the existing surface.
Why it happens: Minor surface flaws can seem insignificant once paint is applied, and people expect the new coat to cover them without issue.
If your project involves an exterior wall, many of the same principles apply outdoors with additional considerations around weathering and temperature. The guide to exterior paintwork mistakes covers what goes wrong on outside surfaces.
How to repaint a wall that has already started peeling
If peeling has already started, the repair process follows a clear sequence. Begin by scraping away all loose and flaking paint with a wide putty knife. Do not simply paint over areas that feel solid at the edges; probe those edges and remove anything that lifts even slightly.
Sand the scraped areas to feather the hard edges left by the old paint, then fill any gouges or depressions with a lightweight spackle or joint compound. Sand the filled areas smooth once dry, and spot-prime them with a bonding primer. If the damage is widespread, prime the entire wall rather than just the repairs.
Once the surface is stable and primed, apply paint in thin, even coats rather than one thick coat. A thick single coat is more prone to running and trapping moisture than two thin coats applied with the correct drying interval in between.
Older homes may have lead paint
Walls in homes built before 1978 may contain lead-based paint beneath newer layers. Sanding or scraping this paint creates hazardous dust. Contact a certified lead abatement professional before disturbing paint in older properties, and do not attempt to sand or scrape without first testing for lead content using an EPA-recognized test kit.
Planning to change your wall's character entirely after the repair? The principles behind accent wall colour and texture can help you make confident decisions about your next step.