

Key Takeaways
- Granting fewer permissions does not always break an app; many functions work fine with limited access.
- Both Android and iOS let you review and revoke permissions at any time after installation.
- Sensitive permissions like location, microphone, and camera deserve the most scrutiny.
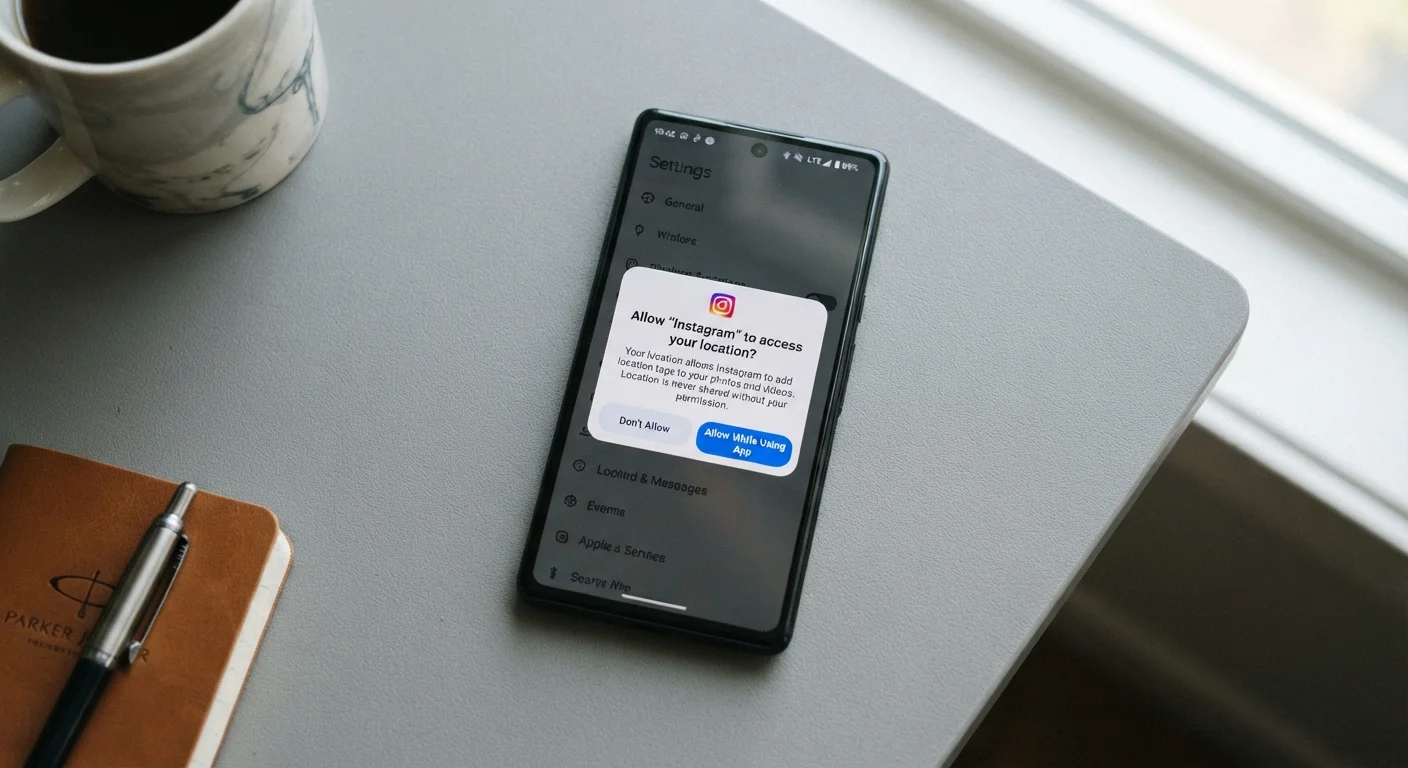
- Choosing 'only while using the app' for location is almost always safer than 'always allow'.
- A periodic permission audit takes under 30 minutes and covers most privacy exposure.
What you will need
Why app permissions matter more than most people realize
Every app on your phone is a small piece of software written by people you have never met. When it asks for access to your camera, contacts, or location, it is requesting a channel to data that exists well beyond what it needs to display on screen. Most users tap 'Allow' quickly and move on, which is understandable: the prompts appear at inconvenient moments, and the consequences of tapping 'Deny' seem uncertain.
The practical risk is not that any single app will definitely misuse your data. It is that unnecessary permissions expand the surface area for potential problems. If an app you forgot about retains microphone access, and that app is later acquired by a company with different data practices, your exposure changes without you doing anything.
The good news is that managing permissions is not an all-or-nothing task. You do not need to lock down every app to protect yourself meaningfully. A targeted, periodic review of the permissions that carry the most risk gets you most of the benefit with little friction. For a broader look at overlooked privacy controls, see our guide to privacy settings most people never change.
Understanding permission categories
Not all permissions carry equal weight. It helps to think of them in two tiers.
High-sensitivity permissions give an app access to data or hardware that is personal, difficult to revoke after the fact, or potentially continuous in its collection:
- Location (especially 'always on' background access)
- Microphone
- Camera
- Contacts
- Health and fitness data
- Precise vs. approximate location (a distinction both Android and iOS now offer)
Lower-sensitivity permissions are still worth reviewing, but rarely pose the same risk:
- Notifications
- Calendar
- Photos (with the newer limited-access option available on both platforms)
When an app asks for a high-sensitivity permission that does not match its purpose, that mismatch is worth pausing over. A flashlight app that requests your contacts list, for example, has no functional reason to need that access. The same critical thinking applies to browser extensions: many request far more access than their function requires.
What you will need
How to audit and adjust permissions
The steps below work on both Android and iOS, with slight differences in menu names. Complete the audit in one session so you get a full picture before making changes.
Open the permissions manager on your device
On iOS: go to Settings, then Privacy and Security. You will see a list of permission categories (Location Services, Contacts, Camera, and so on). Tapping any category shows every app that has requested that permission and its current status.
On Android: go to Settings, then Apps (or Application Manager on older versions), then tap the three-dot menu and select Permission Manager. Alternatively, go to Settings, then Privacy, then Permission Manager.
Review location permissions first
Location is the permission most worth auditing carefully. In the Location Services section (iOS) or Location permission category (Android), scroll through every app listed and ask: does this app have a reason to know where I am?
- Change 'Always' to 'While Using' for any app that does not need background location (most do not).
- On iOS, consider selecting 'Precise Location off' for apps that only need a general area, such as a local news app.
- Deny location entirely for apps that have no geographic function at all.
Check microphone and camera access
Open the Microphone and Camera categories in the permissions manager. Any app that appears here has been granted the ability to activate that hardware.
- Revoke microphone access from apps that have no voice, audio, or video function.
- Revoke camera access from apps that have no need to take or capture images.
- If you are unsure why an app requested either permission, revoke it and test whether core features still work.
Audit contacts and health data
Contacts data contains the names, phone numbers, and email addresses of people who have not consented to share their information with an app. Grant contacts access only to apps that have a direct communication function, such as messaging or email clients.
Health data (available under Health on iOS or the relevant health app on Android) is among the most personal data on your device. Review which apps can read or write to it and remove access from anything you do not actively use for health tracking.
Limit photo library access where possible
Both iOS and Android now offer granular photo access options. Instead of granting an app access to your entire photo library, you can select specific photos or albums.
On iOS: choose 'Selected Photos' when prompted, or revisit an app's photo setting in Settings, then Privacy and Security, then Photos.
On Android: Android 13 and later introduced similar granular media permissions. Check the Photos and Videos permission category in Permission Manager.
Once you have finished, consider running the same process every few months, or after installing a significant number of new apps. A full personal privacy audit checklist can help you cover permissions alongside passwords and social media settings in one focused session.
Common mistakes and how to avoid them
The most common mistake is revoking permissions wholesale without testing whether the app still does what you need. Revoke one permission, use the app briefly, and confirm nothing important broke before moving to the next.
A second mistake is ignoring the difference between 'while using' and 'always allow' for location. Weather and navigation apps often request 'always on' access, but most work correctly with 'only while using.' Background location access means an app can record your position even when you are not actively using it, which is rarely necessary for the app's stated purpose.
Finally, some users never revisit permissions after installation. Apps update, ownership changes, and new features get added that introduce new data collection. Treating a permissions review as a one-time task leaves those changes unexamined. If you use your phone's camera frequently, you may also find it useful to understand how camera access interacts with photo library permissions: how your device's camera makes automatic decisions explains the underlying mechanics.