

Key Takeaways
- Oversanding removes the wood itself, not just the finish, and each plank has a finite amount of material to lose.
- Most timber floors need cleaning and light refinishing long before they need a full sand.
- Moisture is the biggest threat to hardwood floors; proper ventilation and prompt spill cleanup matter more than any finish product.
- Screening (buffing the existing finish) is a far less destructive option than a full drum-sand for lightly worn floors.
- Matching the finish type before applying any product prevents delamination and clouding.
Why oversanding is a permanent problem
A solid hardwood plank is typically 18 to 22 mm thick, but only the top 4 to 6 mm above the tongue-and-groove joint can safely be sanded. Once that layer is gone, the floor cannot be sanded again without risking structural failure at the joint. Professional floor sanders sometimes describe seeing floors that have been sanded four or five times and are essentially paper-thin.
The damage from oversanding is irreversible. You cannot add wood back. This is why the instinct to sand at the first sign of wear is worth examining carefully. Surface scuffs, minor finish dullness, and superficial scratches rarely require sanding at all. They respond to cleaning, light abrasion, and fresh finish applied on top of the existing coat.
For context on how timber flooring compares to alternatives like laminate, see this room-by-room laminate guide, which covers why the subfloor and surface material decisions matter from the start.
Reading the floor before you do anything
Before touching a timber floor with any tool or product, identify what you are actually dealing with. There are two distinct finish types on most hardwood floors: surface finishes (polyurethane, water-based acrylic, and similar hard-coat products) and penetrating finishes (oils and waxes that soak into the wood rather than sitting on top). Applying a water-based product over an oiled floor, or buffing a waxed floor with the wrong pad, causes clouding, peeling, or outright failure.
A simple test: put a drop of water on an inconspicuous spot. If it beads, the floor has a surface finish. If it absorbs within a minute or two, the floor is oiled or waxed. A second test for wax specifically: rub your finger across the surface. Wax leaves a faint smear; polyurethane does not.
Also look at the wear pattern. Heavy traffic lanes that show bare wood grain need different treatment than a dull but intact finish in a bedroom. Spot damage from furniture legs or pet nails may call for localized repair rather than a whole-floor approach.
Check the finish before buying any product
Many maintenance products sold for hardwood floors are finish-specific and will not work correctly on a different finish type. Look at the floor in raking light (a flashlight held at a low angle works well) to see whether the sheen sits on top of the wood or within it. This single observation saves a lot of wasted product and effort.
Maintenance options in order of intervention
Timber floor care works best when you match the intervention to the actual condition, starting with the least invasive option.
Clean thoroughly before deciding any refinishing is needed
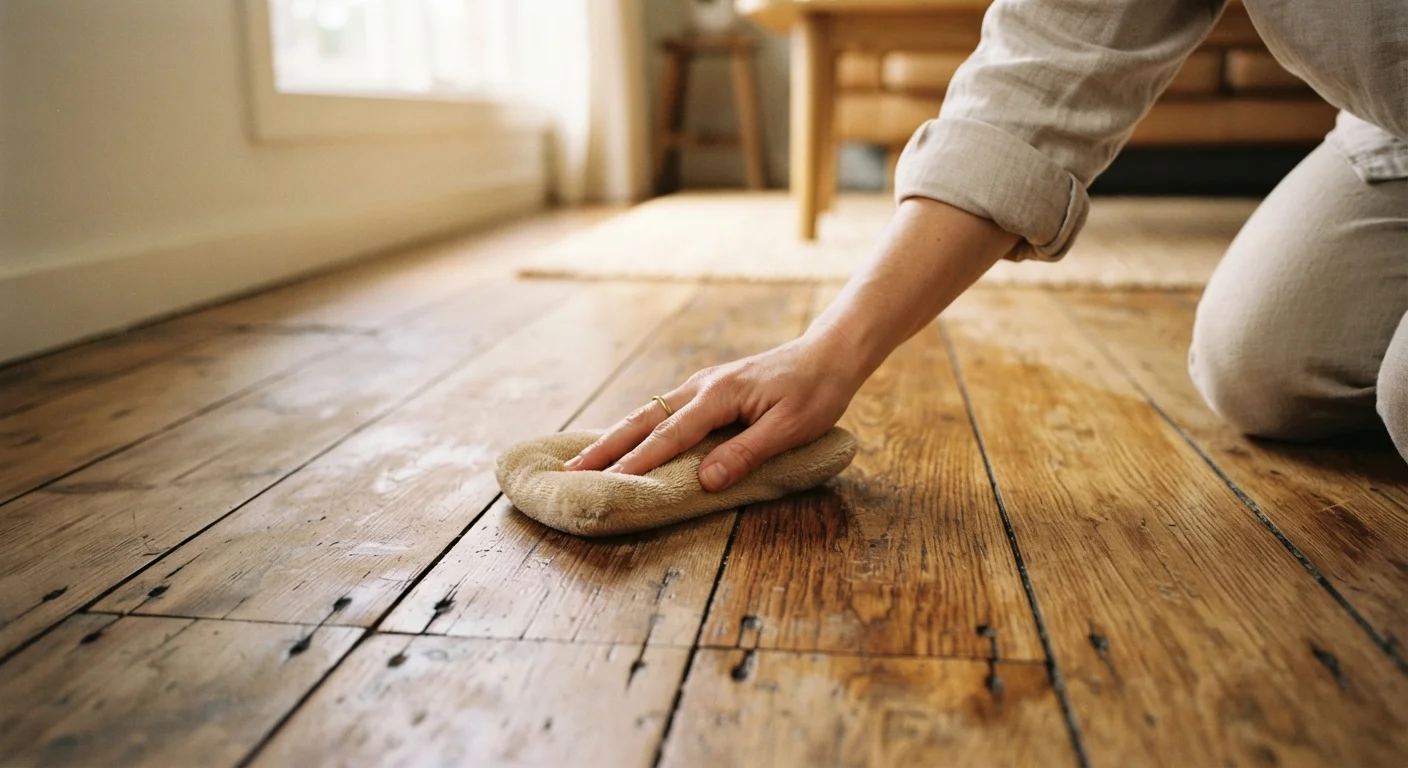
Years of wax buildup, cleaning product residue, and grime can make a perfectly sound finish look dull and damaged. A proper clean with a pH-neutral hardwood cleaner often restores appearance without any abrasion or product application.
Screen and recoat rather than sand when the finish is intact but dull
Screening uses a buffer with a fine abrasive screen to scuff the existing finish just enough for a new coat to bond. It removes almost no wood material and restores sheen and protection without the risk or cost of a full sand.
Match the new finish to the existing finish type before applying anything
Oil-based polyurethane, water-based polyurethane, hardwax oil, and wax are not cross-compatible. Applying the wrong product causes adhesion failure, cloudiness, or a finish that peels in sheets within weeks.
Address moisture intrusion before any refinishing work
A new finish applied over wood that is still holding moisture from a leak or high indoor humidity will bubble, peel, or trap the moisture inside the wood and accelerate decay. The source of moisture must be resolved first.
Use spot repair techniques for isolated damage
Scratches, small gouges, and localized discoloration do not require sanding the entire floor. Colored filler sticks, tinted wax, and touch-up finishes designed for hardwood handle most isolated damage with minimal disruption.
Good ventilation also matters here. Humidity fluctuations cause timber to swell and contract, which accelerates finish cracking. Understanding how airflow affects timber helps you manage indoor humidity before it creates floor problems.
When a full sand genuinely makes sense
Full drum-sanding is appropriate when the existing finish has worn through in multiple areas, the wood itself is stained or damaged below the surface, or previous repairs have left the floor visually inconsistent after screening. It is also the right choice when water damage has caused cupping (the edges of planks rising higher than the center) and the floor has fully dried and re-acclimated.
If a full sand is needed, hire a qualified floor sanding professional and discuss the number of passes, grit sequence, and finish options before work begins. Ask specifically how much material they plan to remove. Any reputable operator will assess the floor thickness before starting. This is not a task to rush or to price purely on speed.
After a full refinish, maintain the floor correctly to push the next sand as far into the future as possible. Felt pads under furniture, a no-shoes policy in high-traffic areas, and prompt attention to spills can extend a finish's life from three or four years to a decade or more. Seasonal home maintenance checks are a good opportunity to inspect floors for early warning signs before wear progresses.
For a broader look at what home inspections often miss, including subfloor issues that affect timber floors from below, this guide to hidden weak points covers areas worth adding to your regular routine.