

Key Takeaways
- Subfloor prep is the most critical step: any flex, moisture, or unevenness will compromise the finished floor.
- Laminate needs a 1/4-inch expansion gap around all fixed objects to allow for seasonal movement.
- Acclimating planks in the room for 48 hours before installation prevents buckling and gapping.
- Staggering end joints by at least 12 inches between rows produces a stronger, more natural-looking result.
- A pull bar, tapping block, and jigsaw make cutting around obstacles far more manageable.
What you will need
Before you start: subfloor and acclimation
Laminate flooring is a floating system, meaning it is not fastened to the subfloor. It relies on a stable, flat surface beneath it. Before buying planks, check your subfloor for three things: flatness, firmness, and moisture.
Use a long straightedge or a 6-foot level to scan the floor. Any dip or hump greater than 3/16 inch over 10 feet needs to be corrected. Fill low spots with floor-leveling compound and sand down high spots. On a wood subfloor, walk the surface and listen for squeaks; drive screws through any squeaky areas to secure loose panels to the joists below.
Moisture is the hidden threat. On a concrete subfloor, tape a 2-foot square of plastic sheeting to the surface for 24 to 48 hours. If condensation collects underneath, address the moisture source before proceeding. Most laminate products have a moisture tolerance threshold listed in their installation guide, and exceeding it will void any warranty.
Once the subfloor passes inspection, bring the laminate boxes into the room where they will be installed. Leave them flat on the floor for at least 48 hours. This lets the planks acclimate to the room's temperature and humidity, which reduces the risk of expansion after installation.
What you will need
Tools and materials you will need
Gather everything before cutting the first plank. Stopping mid-installation to find a missing tool breaks the rhythm and increases the chance of measurement errors.
Tapping block
Protects the plank edge when knocking rows together with a mallet.
Pull bar
Lets you close joints on the last plank in a row where a mallet cannot reach.
Rubber mallet
Drives planks into the click-lock joint without damaging the surface.
Spacers (1/4 inch)
Maintain the expansion gap consistently around all walls and fixed objects.
Jigsaw
Cuts curved and irregular shapes around pipes, door casings, and obstacles.
Circular saw or miter saw
Makes straight crosscuts and rip cuts to fit planks to room dimensions.
Tape measure and carpenter's square
Ensures accurate measurements and square starting rows.
Floor-leveling compound
Fills low spots in the subfloor before installation begins.
For flooring comparisons before you commit, see our comparison of tile and vinyl plank for high-traffic areas.
How to lay the floor, room by room
The core technique stays the same across rooms, but the starting point and cut strategy shift depending on room shape and doorway positions.
Plan your layout and starting wall
Stand in the room's main doorway and identify the wall that will be most visible from that vantage point. Lay the first row with the groove side facing that wall so the tongue faces into the room, making each subsequent row easier to engage.
Measure the room width and divide by the plank width to calculate how wide the last row will be. If the last row would be less than half a plank wide, shift the first row inward by half a plank so both the first and last rows are a similar width. This produces a balanced look.
Install the underlayment
Roll out underlayment perpendicular to the direction the planks will run. Butt edges together without overlapping, and secure seams with the tape specified by the underlayment manufacturer. If the planks have underlayment pre-attached, skip this step.
On concrete, confirm whether a separate vapor barrier is needed under the underlayment. Check the laminate product's installation guide for the manufacturer's specification.
Lay the first row
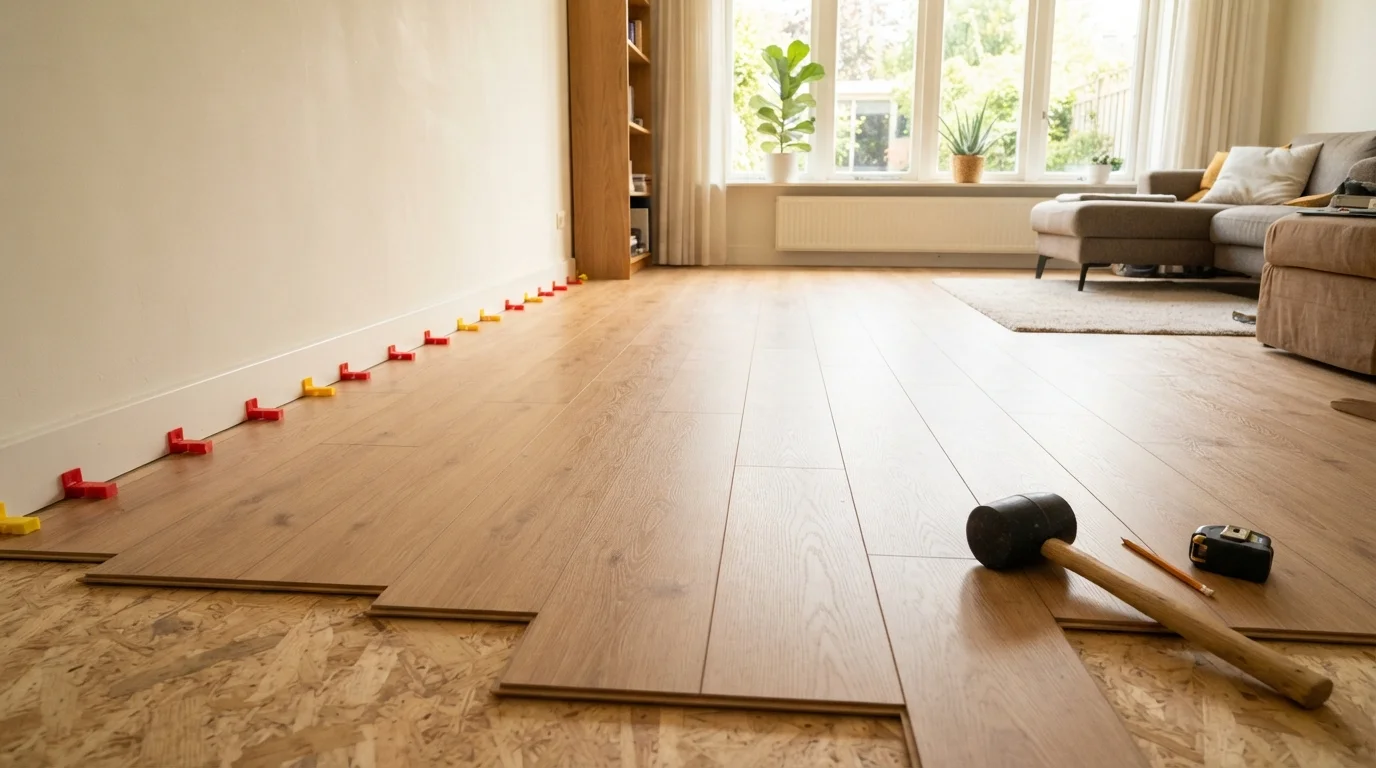
Place 1/4-inch spacers against the starting wall. Set the first plank tongue-side facing the room, groove toward the wall. Connect the short ends of subsequent planks by angling them in at about 20 degrees, pressing down until the joint clicks. Work along the full length of the wall.
Cut the last plank in the row to length using the circular saw or miter saw. If the offcut is at least 12 inches long, save it to start the second row.
Build subsequent rows
Angle the long edge of each new row into the preceding row's tongue at roughly 20 degrees and press down to engage the click-lock joint. Use the tapping block and mallet to close any gaps along the long edge. Stagger end joints by at least 12 inches from the joints in the row below.
Check every few rows that the floor has not drifted away from square by measuring the distance from the far wall at two points. Adjust the angle of the next row slightly if a discrepancy develops.
Cut and fit the last row
Measure the remaining gap between the last full row and the wall, subtracting 1/4 inch for the expansion gap. Rip-cut planks to that width. Use the pull bar to draw the final row into the preceding row's joint, since a mallet will not fit in the narrow space.
Finish with trim and transitions
Remove all spacers. Install baseboards or quarter-round molding to cover the expansion gap. Fasten molding to the wall, not to the floor, so the laminate can still move freely beneath it.
Fit transition strips in all doorways and between the laminate and any other floor surface. Reinstall any doors, trimming the bottom if needed to clear the new floor height.
For ongoing floor care once your laminate is down, the seasonal home maintenance walkthrough covers what to inspect and clean each season to keep floors in good shape.
Common trouble spots and how to handle them
Doorways and thresholds require a transition strip between the laminate and any adjoining floor surface. Most transition strips snap into a track that you fasten to the subfloor before laying the adjacent planks.
Pipes coming through the floor need a clean, round cutout. Mark the pipe center on the plank, drill a hole slightly larger than the pipe diameter using a spade or hole-saw bit, then cut the plank in two through the center of the hole. Install both pieces around the pipe and cover the gap with a pipe collar.
Irregular walls are common in older homes. Rather than trying to cut planks to follow every contour, use a scribing tool to trace the wall profile onto the plank, then cut along that line with a jigsaw.
If a completed row does not click fully closed, check that no debris is sitting in the joint and that the expansion gap has not disappeared at the far wall. A gap that vanishes midway through the room means the starting row was not parallel to the opposite wall.
If you are weighing whether laminate is the right choice for a given space before going further, the tile versus vinyl plank comparison lays out the durability and moisture trade-offs in detail.