

Key Takeaways
- Most draughts enter through gaps around doors, windows, floors, and loft hatches.
- Weatherstripping, self-adhesive foam tape, and flexible filler are the core materials for this project.
- Renters can use removable, non-damaging solutions that leave no permanent marks.
- Sealing draughts reduces heat loss and can lower heating bills without any structural changes.
- A candle or incense stick is an effective, free tool for locating hidden air leaks.
What you will need
Why draughts matter and where to find them
A draught is uncontrolled air movement through gaps in a building's fabric. Unlike deliberate ventilation, draughts are unfiltered and unpredictable. They carry warm air out and cold air in, which forces your heating system to work harder to compensate. For context, the U.S. Department of Energy states that air leaks can account for 25 to 40 percent of a home's heating and cooling energy use.
Before buying any materials, locate the leaks. On a cold, windy day, hold a lit candle or stick of incense near the edges of windows, exterior doors, floor baseboards, electrical outlets on exterior walls, attic hatches, and the gaps around pipes entering from outside. Any flickering flame or drifting smoke points to an air leak. Mark each spot with a piece of masking tape so you can work through them systematically.
Common trouble spots include:
- The gap under exterior doors
- Worn or missing window glazing compound
- Gaps where floorboards meet baseboards
- Letterboxes and keyholes
- Loft and attic hatch perimeters
- Gaps around pipes or cables entering through exterior walls
Once you have a clear picture of where the leaks are, you can match the right fix to each location. The hidden weak points guide covers several of these areas in more detail if you want a broader inspection checklist.
Tools and materials you will need
Most draught-proofing materials cost a few dollars per meter or roll and are available at hardware stores. There is no need for specialist skills or power tools for the majority of jobs described here.
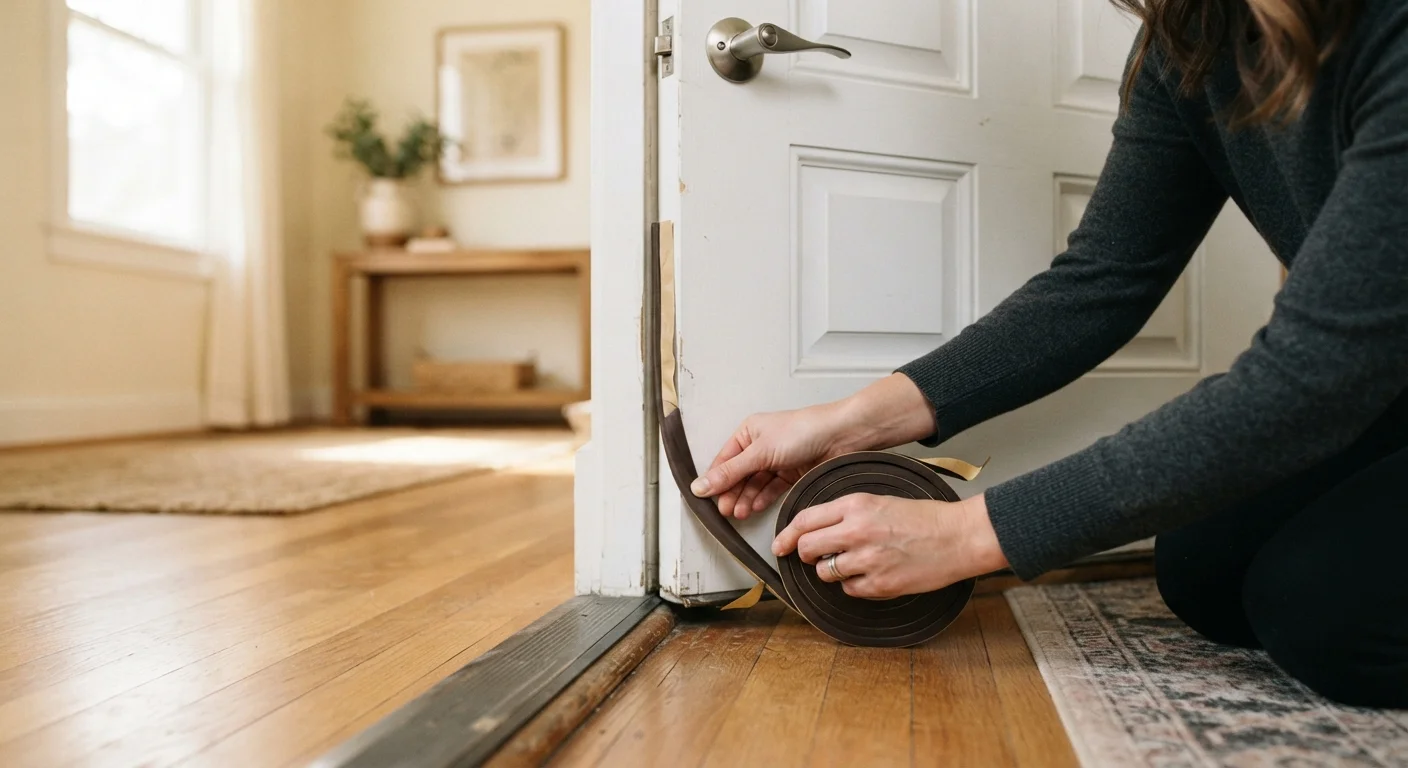
Self-adhesive foam or rubber weatherstripping tape
Seals the gap around door and window frames when compressed by the closing door or sash.
Flexible filler or silicone caulk
Fills larger or irregular gaps around baseboards, window frames, and pipe entry points.
Door sweep or brush-strip draught excluder
Blocks the gap under exterior doors where cold air enters at floor level.
Putty knife or caulk gun
Applies and smooths filler and caulk into gaps cleanly and evenly.
Rubbing alcohol and clean cloth
Cleans surfaces before applying self-adhesive products so they bond correctly.
Brush-pile sash window strip
Fills the sliding channel on sash windows while still allowing the window to open and close.
Letterbox brush insert
Reduces airflow through the letterbox slot without affecting mail delivery.
If you are a renter, look for products described as "removable" or "residue-free." Self-adhesive foam tape and brush-strip draught excluders generally fall into this category. Check your lease before using any filler or caulk, since those create a more permanent change. For owned homes, flexible filler and silicone caulk are the most durable long-term choices for gaps around pipes and baseboards. The insulation materials reference explains how sealing gaps and adding insulation work together to improve a home's thermal performance.
Step-by-step sealing process
Work through your marked spots in order of size and impact. Doors and windows are usually the highest priority because their gaps tend to be the largest. Complete one area before moving to the next so you can assess the improvement.
Seal under exterior doors
The gap at the base of an exterior door is one of the largest single sources of air loss in many homes. Fit a door sweep or brush-strip draught excluder to the bottom of the door. Most attach with screws along the bottom rail; for a non-permanent option, choose a self-adhesive brush strip or a draft snake that sits against the base of the door when closed.
Check the threshold plate at the same time. If it is worn or missing, replacing it with a rubber-tipped threshold bar creates a seal when the door closes against it.
Apply weatherstripping to door and window frames
Self-adhesive foam or rubber weatherstripping fits into the rebate (the groove the door or window sits against when closed). Clean the surface with rubbing alcohol first so the adhesive bonds well. Measure each side before cutting, and press the strip firmly into place.
For casement windows, press the strip along the inside of the frame so the window compresses it when latched. For sash windows, a brush pile strip fits into the channel on either side and allows the window to slide while still blocking air.
Fill gaps around window glazing and frames
Where the window frame meets the wall, apply a bead of paintable flexible filler or silicone caulk. Cut the nozzle at a 45-degree angle, run a continuous bead along the gap, and smooth it with a damp finger. Wipe off any excess before it cures. For gaps in glazing compound around older single-pane windows, remove the crumbling material with a putty knife, apply fresh glazing compound, and allow it to dry before painting over.
Address gaps at baseboards and floorboards
Gaps between floorboards and at the junction between baseboards and the floor allow cold air from below to enter the room. For narrow gaps between boards, flexible decorator's filler applied with a putty knife and smoothed flush works well. For the gap between the baseboard and the floor, a bead of flexible caulk in a matching color provides a seal that moves with the building's natural settling without cracking.
Seal letterboxes, keyholes, and other door fittings
A letterbox without a brush flap or cover can let a surprising amount of cold air in. Retrofit brush inserts are widely available and fit inside most standard letterbox openings. For keyholes, a keyhole cover plate with an internal flap or rotating disc blocks airflow when the key is not in use. These are inexpensive fittings and take only a screwdriver to install.
Once the main openings are sealed, move on to secondary sources such as electrical outlet gaskets on exterior walls, gaps behind baseboards, and the perimeter of your loft hatch. A layer of self-adhesive foam tape around the hatch frame is a quick fix that can noticeably reduce heat loss from rooms below. For a broader maintenance approach, the seasonal home maintenance walkthrough places draught-proofing within a year-round schedule of home upkeep.
One important balance to keep in mind: sealing air leaks is not the same as eliminating all ventilation. Bathrooms, kitchens, and rooms with gas appliances need controlled airflow to prevent condensation and to operate safely. Do not block intentional vents, extractor fans, or combustion air supplies. The ventilation and air quality guide explains the difference between harmful draughts and necessary airflow.