

Key Takeaways
- There are three main grout types: unsanded, sanded, and epoxy, each suited to different joint widths and conditions.
- Epoxy grout resists staining and moisture far better than cement-based grout but costs more and is harder to apply.
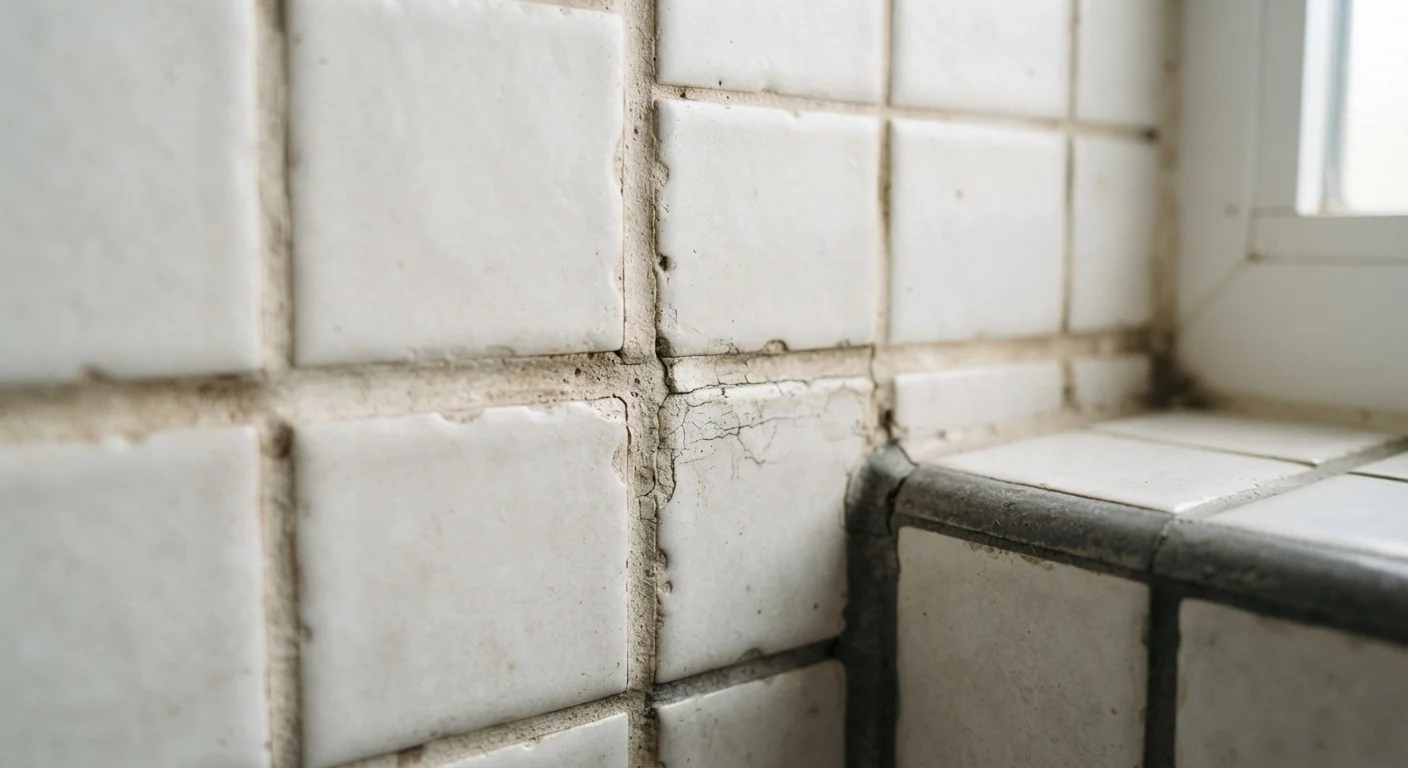
- Grout fails most often because of moisture infiltration, missing caulk at movement joints, or poor surface preparation.
- Resealing cement-based grout every one to two years significantly extends its life in wet areas.
- Cracks in grout lines can signal underlying substrate movement and may need more than a simple regrout.
Grout
Grout is a dense, cement-based or epoxy-based filler used to seal the gaps between tiles. It bonds to the edges of tiles, keeps debris and moisture out of the substrate below, and gives the finished surface a clean appearance. Without it, tiles can shift, crack, and allow water to penetrate walls or floors.
Grout is distinct from mortar, which bonds the tile to the substrate, and from caulk, which is used at movement joints and corners where two planes meet.
The three main types of grout
Most residential tile work uses one of three grout types. Understanding which one belongs where prevents premature failure before a tool ever touches the substrate.
Unsanded grout
Unsanded grout is a smooth mixture of cement, pigment, and water-retaining compounds. It belongs in joints narrower than 1/8 inch and on tile surfaces that sand would scratch, such as polished marble or glass mosaic. Because it has no aggregate, it shrinks slightly as it cures, which makes it unsuitable for wide joints.
Sanded grout
Sanded grout adds fine sand to the cement base to reduce shrinkage in joints from 1/8 inch up to about 1/2 inch. The sand provides structural bulk that keeps wider joints from cracking as the mixture dries. This is the most common type in floor installations and standard ceramic or porcelain tile work.
Epoxy grout
Epoxy grout replaces the cement base with a two-part epoxy resin. It is non-porous, chemical-resistant, and far less susceptible to staining and moisture than cement-based products. It is the appropriate choice for wet environments, commercial kitchens, and pool surrounds. The trade-off is a more demanding application: it cures faster, is harder to clean from tile faces, and costs significantly more per unit.
Test grout type before you buy
Measure your tile joints before purchasing grout. Use a straightedge and measure several joints, since spacing can vary slightly even in a single installation. Buying the wrong type for the joint width is one of the easiest mistakes to avoid with a two-minute check.
Where each grout type is appropriate
Matching the grout to the location matters as much as matching it to the joint width. A few practical guidelines:
- Shower walls and floors: epoxy grout or cement-based grout with consistent resealing. Any cement-based grout here needs a penetrating sealer applied once the grout has fully cured, typically 72 hours after installation.
- Kitchen backsplashes: unsanded grout works well for most standard tile layouts with thin grout lines. Sanded grout is appropriate if the joint width calls for it.
- Exterior tile: freeze-thaw cycles put stress on any cement-based product. Epoxy grout handles these conditions better, though proper tile selection and substrate prep matter just as much.
- Floors in high-traffic areas: sanded grout with a hard-wearing sealer. Unsanded grout in floor joints wider than 1/8 inch will shrink and crack.
Corners and transitions between surfaces, such as where a tile floor meets a tub, are movement joints. These should always be filled with flexible silicone caulk, not grout. This is one of the most frequently overlooked rules in DIY tile work, and it accounts for a large share of recurring grout failures near tubs and shower bases.
1/8 inch
Maximum joint width for unsanded grout
Tile industry guidelines consistently identify 1/8 inch as the upper limit for unsanded grout before shrinkage cracking becomes likely.
1 to 2 years
Recommended resealing interval for shower grout
Tile and grout professionals generally recommend resealing cement-based grout in wet areas at least every one to two years to maintain moisture resistance.
72 hours
Typical cure time before sealing cement-based grout
Most cement-based grout manufacturers specify allowing at least 72 hours of cure time before applying a penetrating sealer in standard conditions.
Why grout fails
Grout fails through a small number of mechanisms, most of which are preventable.
Moisture infiltration
Water that gets beneath grout softens the setting bed, causes efflorescence (the white mineral deposits that appear on grout surfaces), and eventually loosens tiles. In showers, this usually begins at unsealed joints or at the movement joint around the tub perimeter where grout has replaced caulk.
Substrate movement
Buildings shift slightly with temperature changes and structural loads. If the substrate under a tile installation is not rigid enough, that movement transmits directly to the grout and tile. Cracks that return after regrouting almost always point to an inadequate substrate rather than a grout problem. Weak points in a home that go unnoticed often show up first as tile and grout failure before any other visible sign of damage appears.
Poor surface preparation
Grout applied over dusty, oily, or still-wet mortar does not cure correctly. Joints that were not fully packed during installation leave voids that trap water and compress under foot traffic. Rushing cure time, skipping sealer in wet areas, or using the wrong grout type for the joint width all produce the same result: grout that cracks, stains, or crumbles within a year or two of installation.
Age and wear
Even properly installed, unsealed cement-based grout becomes porous over time as the binder matrix breaks down. Regular sealing slows this process, but all cement-based grout eventually needs partial or full replacement in heavily used areas.
Extending grout life with basic maintenance
For cement-based grout, the most effective maintenance step is applying a penetrating sealer at the correct intervals. A penetrating sealer fills the microscopic pores in cured grout, slowing moisture absorption and reducing staining. In a shower, plan on resealing every one to two years. In a dry kitchen backsplash, every three to five years is reasonable.
Cleaning grout with acidic or bleach-based cleaners regularly accelerates breakdown of the cement binder. Neutral pH cleaners clean adequately without removing the sealer layer or etching the grout surface.
Inspect movement joints, the caulk lines at tub perimeters, shower corners, and any joint where a tile surface meets a different material, once a year. When caulk cracks or pulls away, replace it before water reaches the substrate. This single inspection prevents the majority of water-related grout and tile failures in bathrooms.
For hairline cracks in floor grout that do not reflect substrate movement, a grout pen or color-matched grout paint can restore appearance without full removal. Where a joint has crumbled or separated more than superficially, cut out the old material cleanly and regrout only that section.